Unlock this content with a Rosendale Online subscription.
Get unlimited access to all of Rosendale Online.
Already a Rosendale Online member?
Log in
Step 1
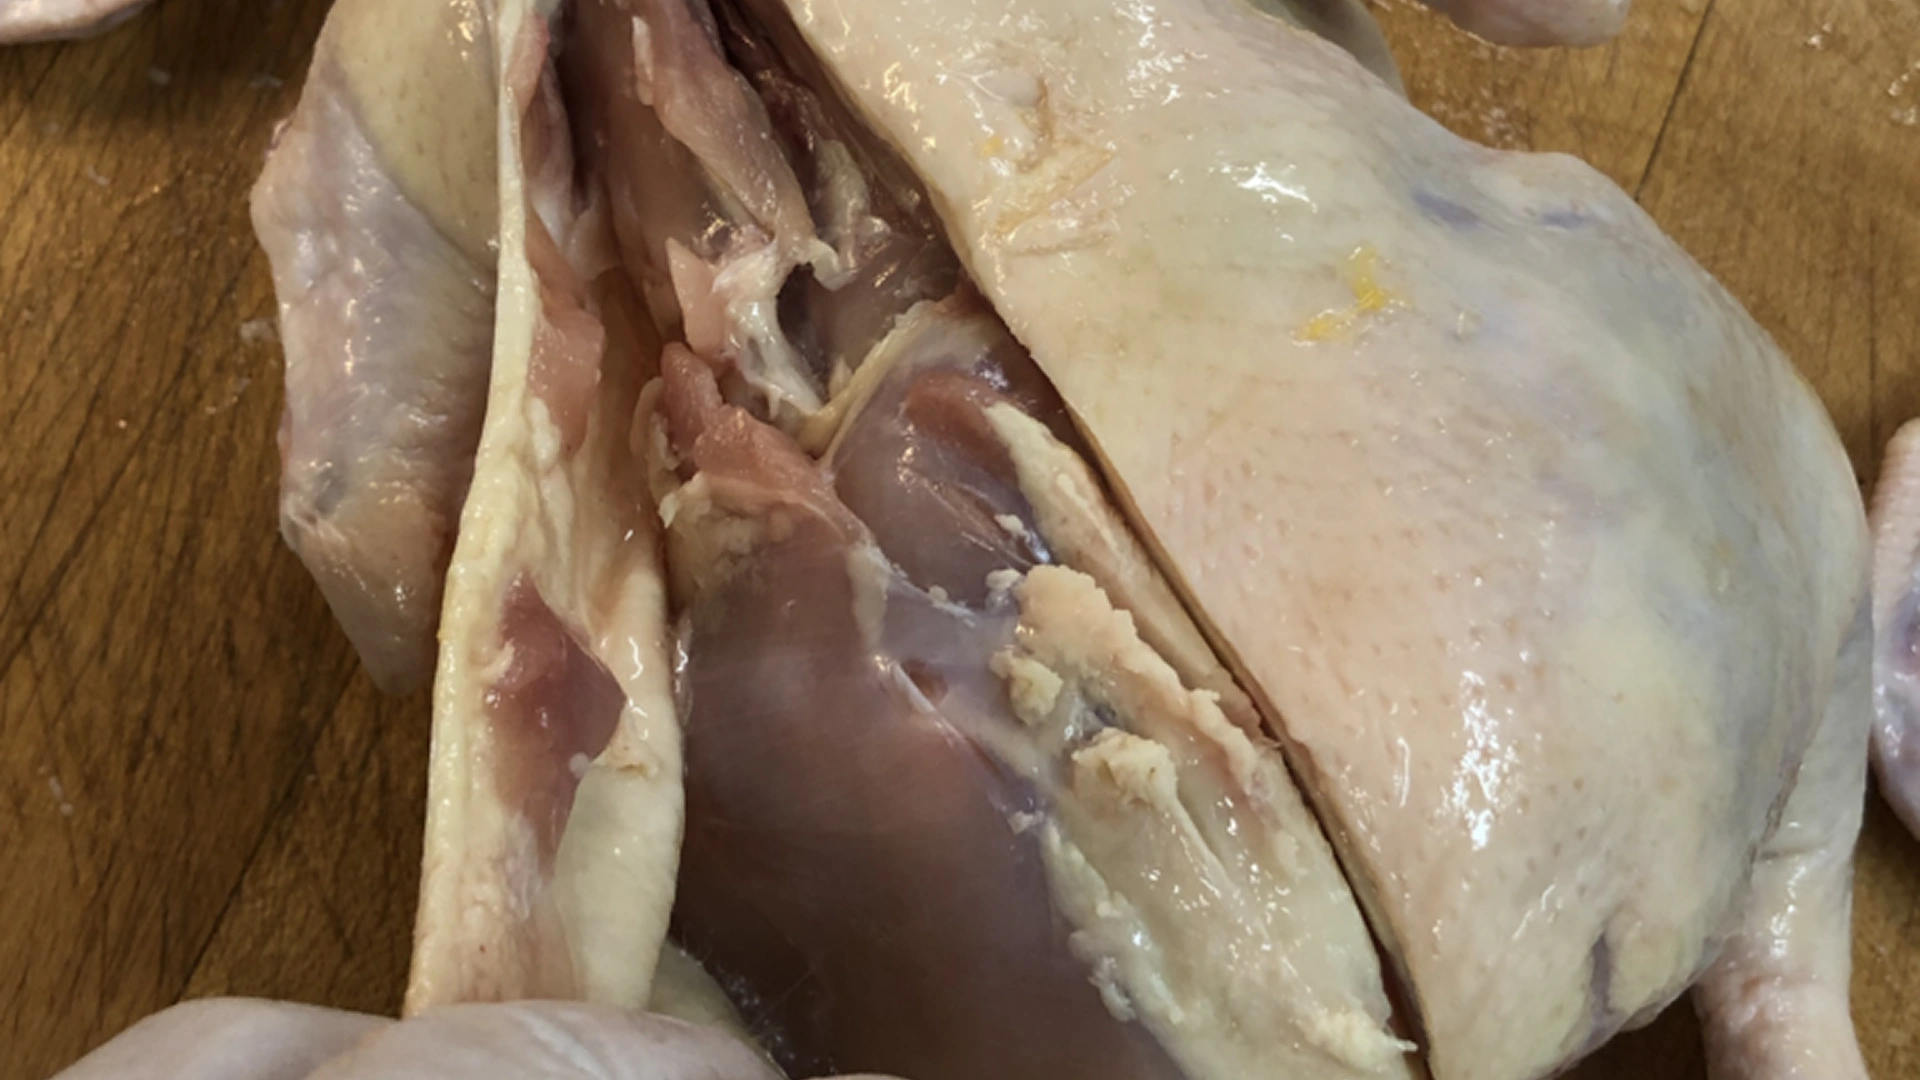
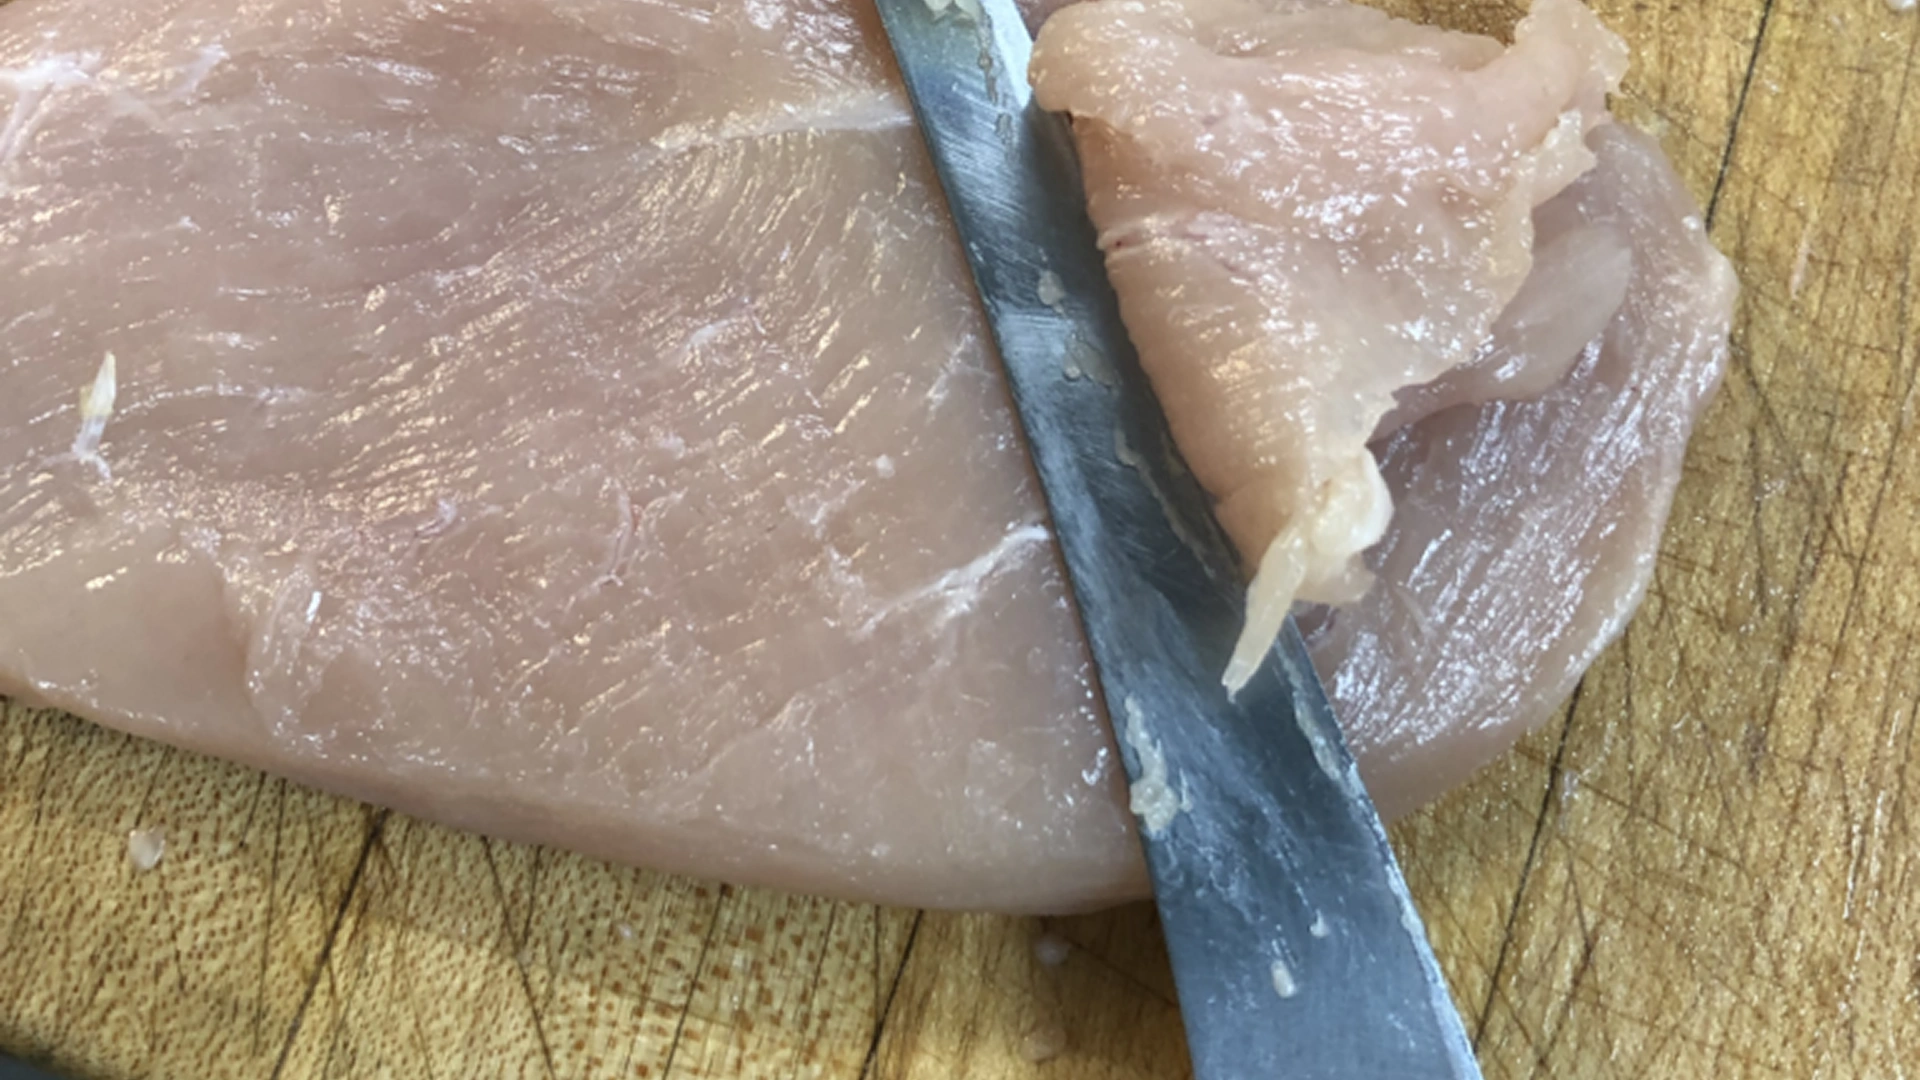
Thoroughly rinse chickens and pat dry. With a carving knife, remove the wingtips and make a cut along the back of the chicken from the neck down to the tail. Carefully remove the skin, pulling it away from the carcass and over the back, then over the wings and thighs. Be very careful not to damage or puncture the skin with the knife.
Step 2
Working your way around the entire chicken, separate the skin from the meat. You will need to trim around the wing joints and the legs to remove the skin.
Step 3
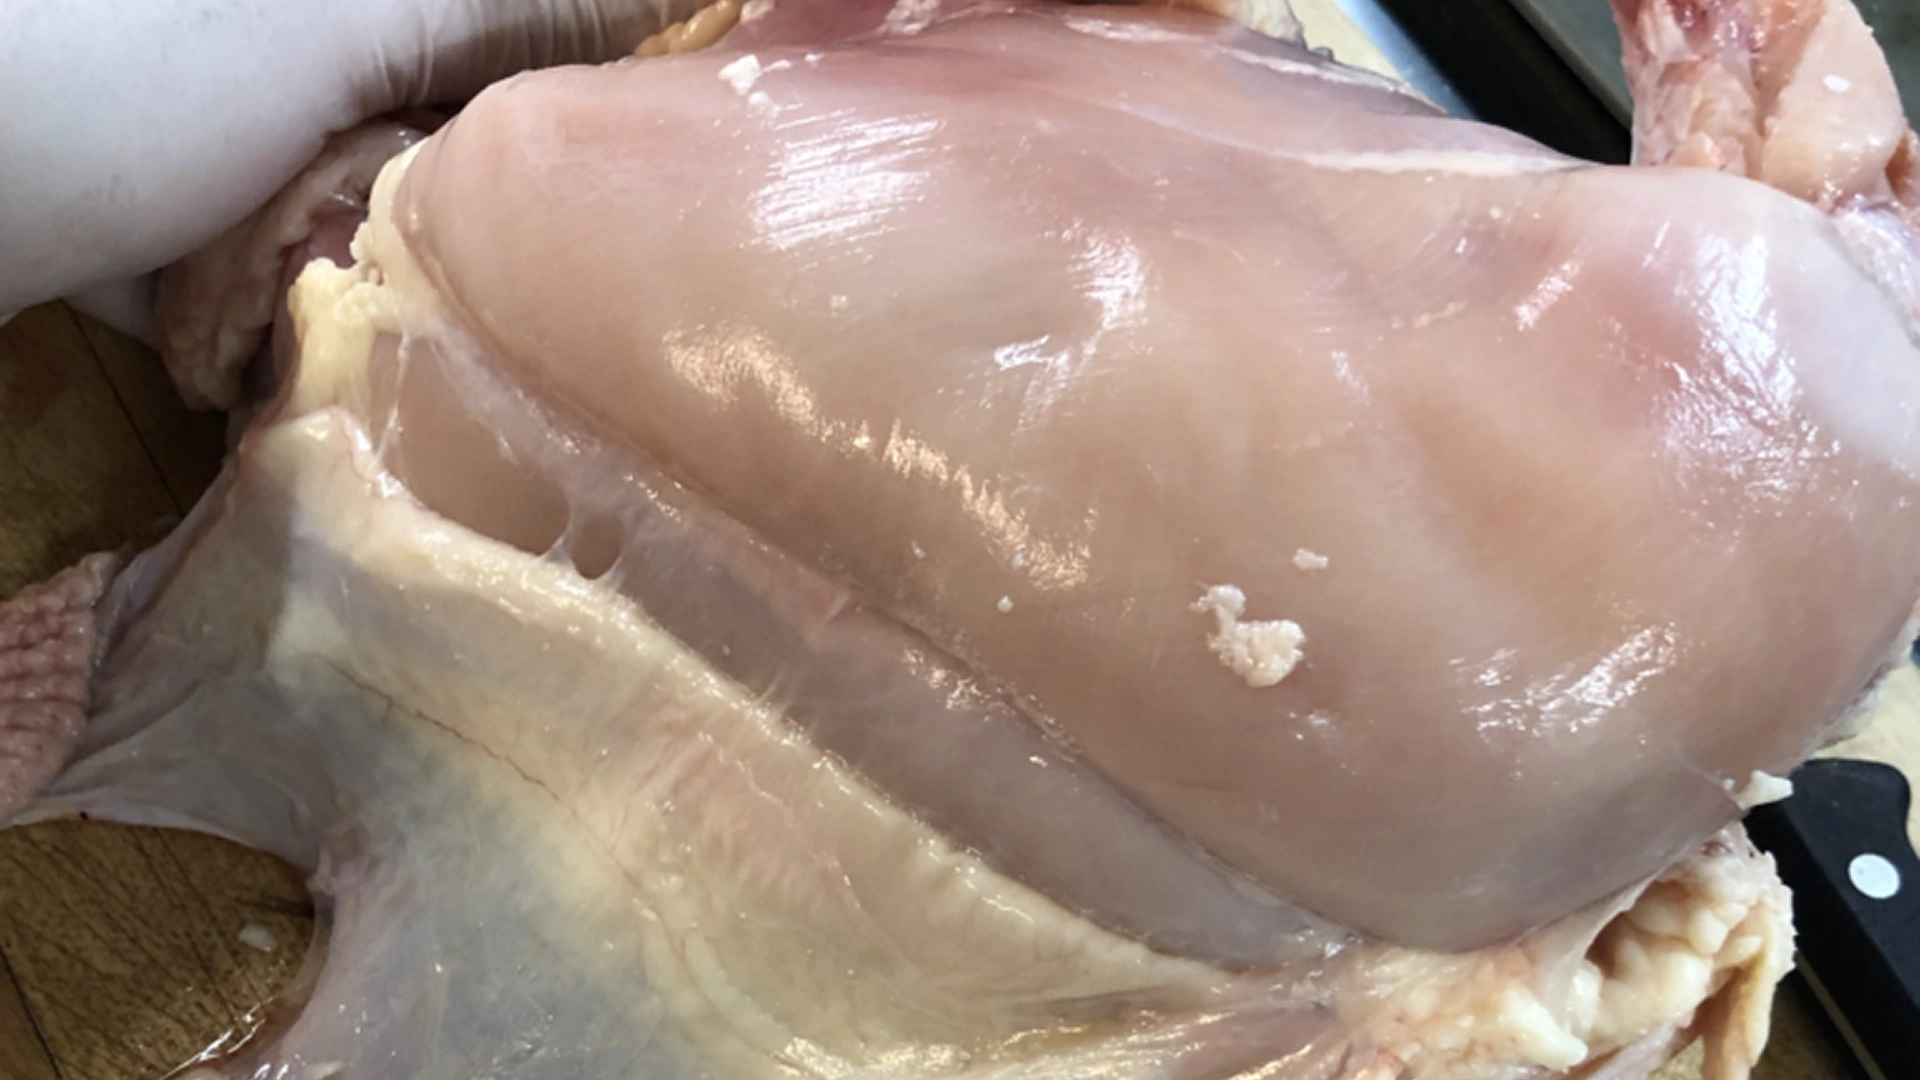
Work carefully to make sure there is no damage to or holes in the skin or meat. Set skin aside and reserve.
Step 4
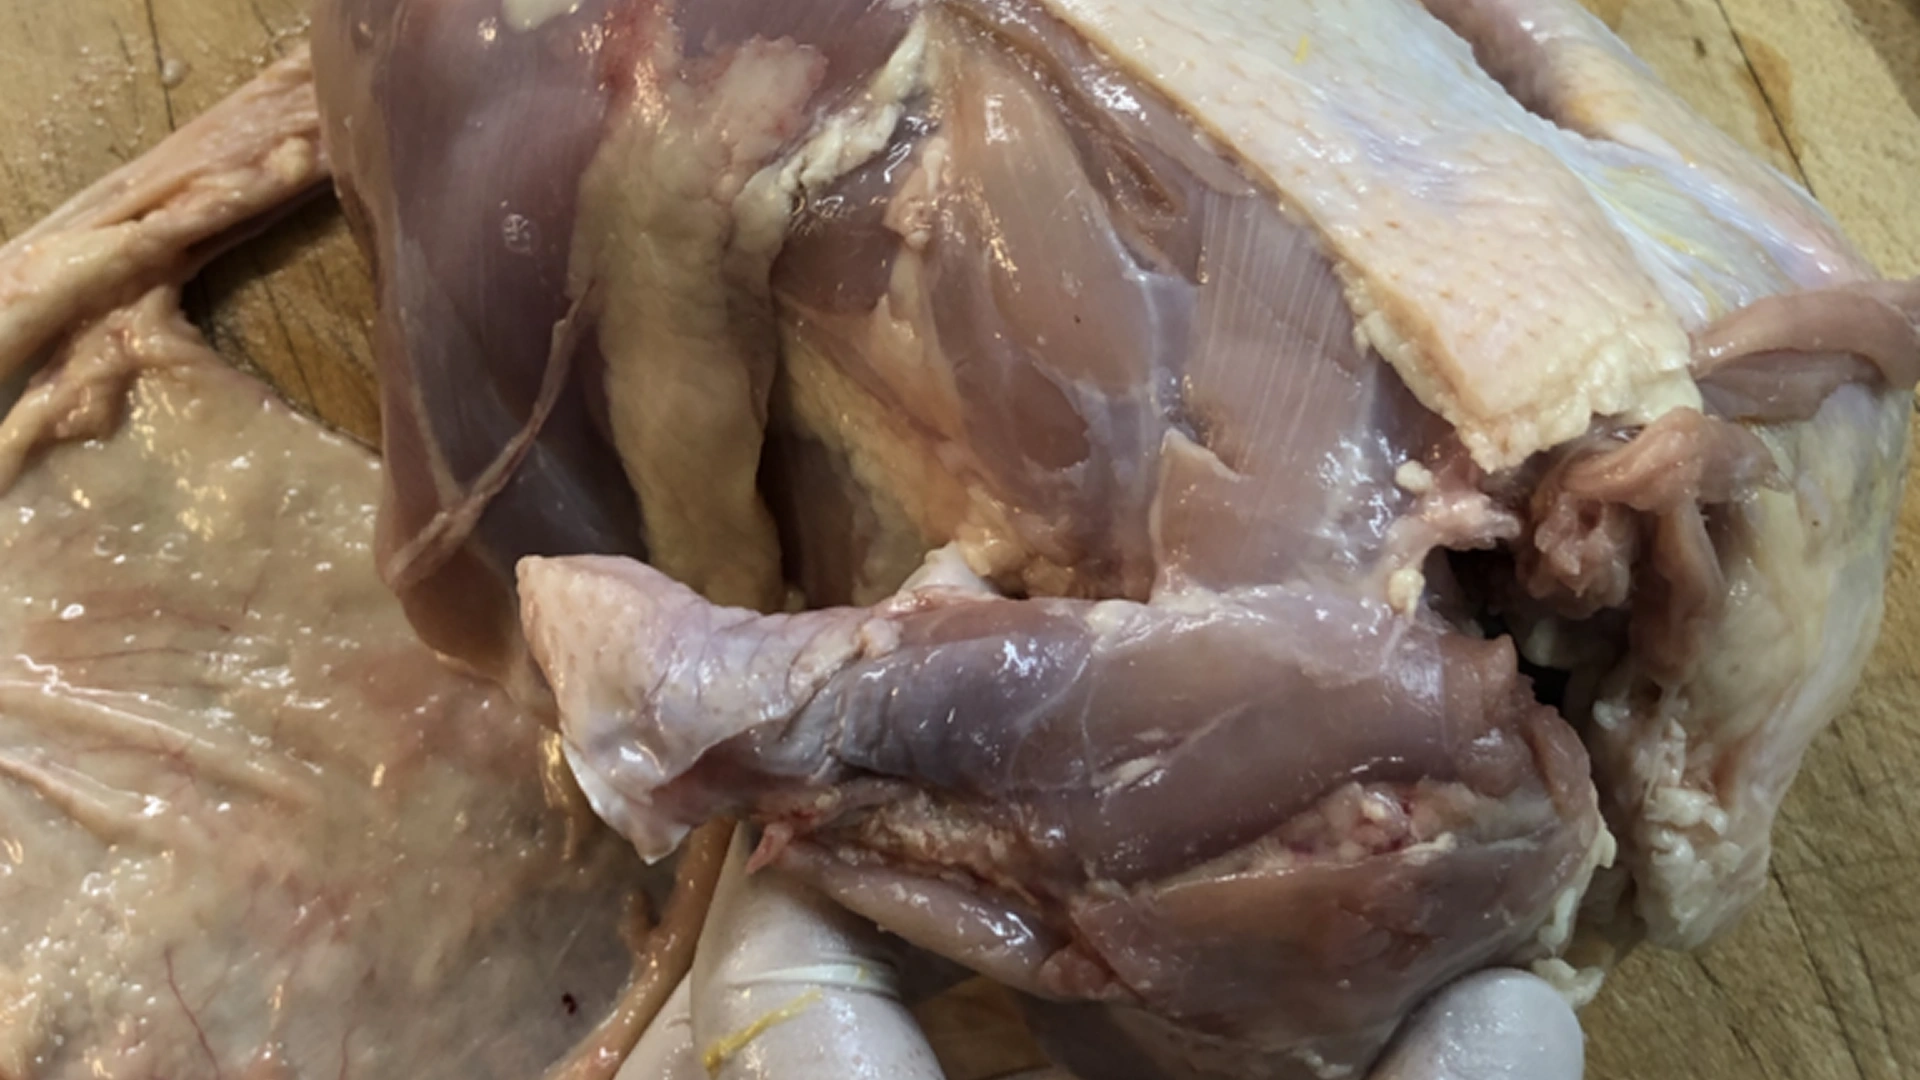
Next, remove the breast, legs, and thighs from the carcass.

Step 5
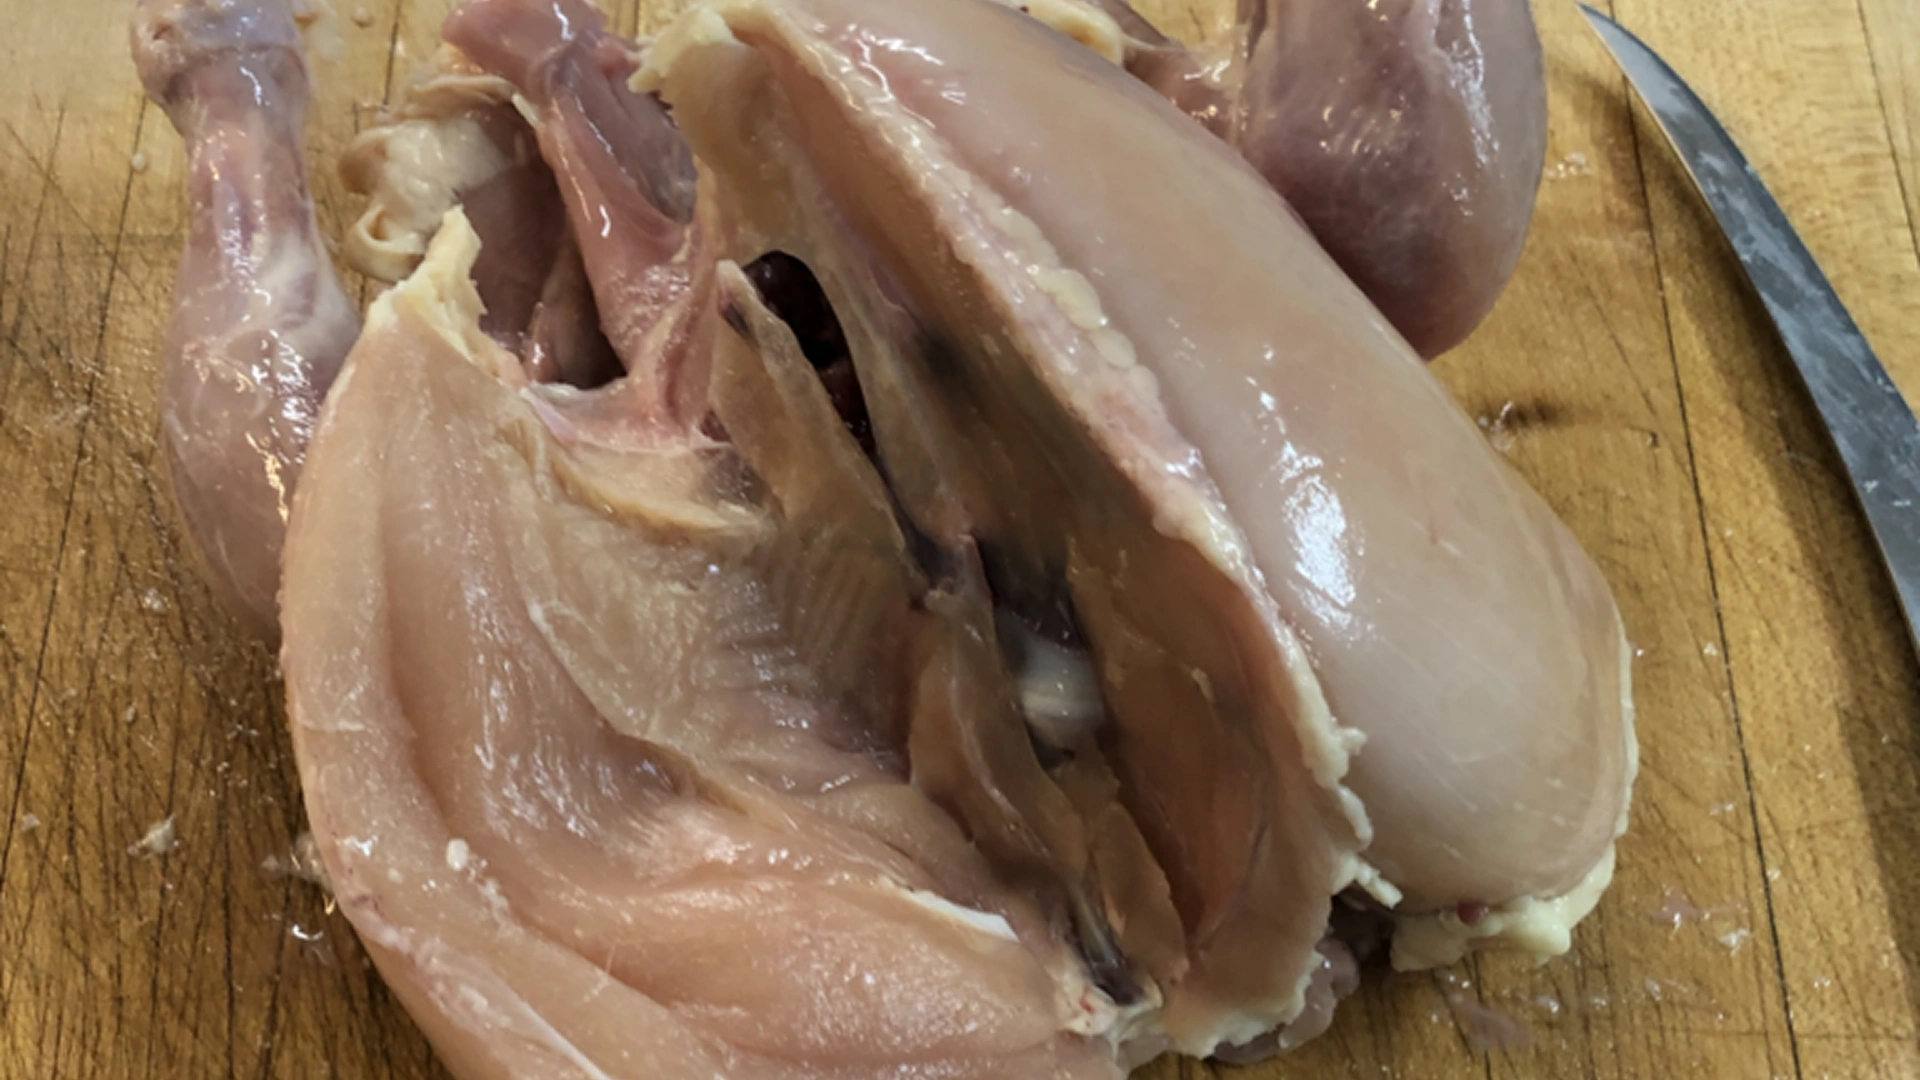
Remove the tenderloin from the breast and remove the tendon from the tenderloin, discarding the tendon.
Step 6
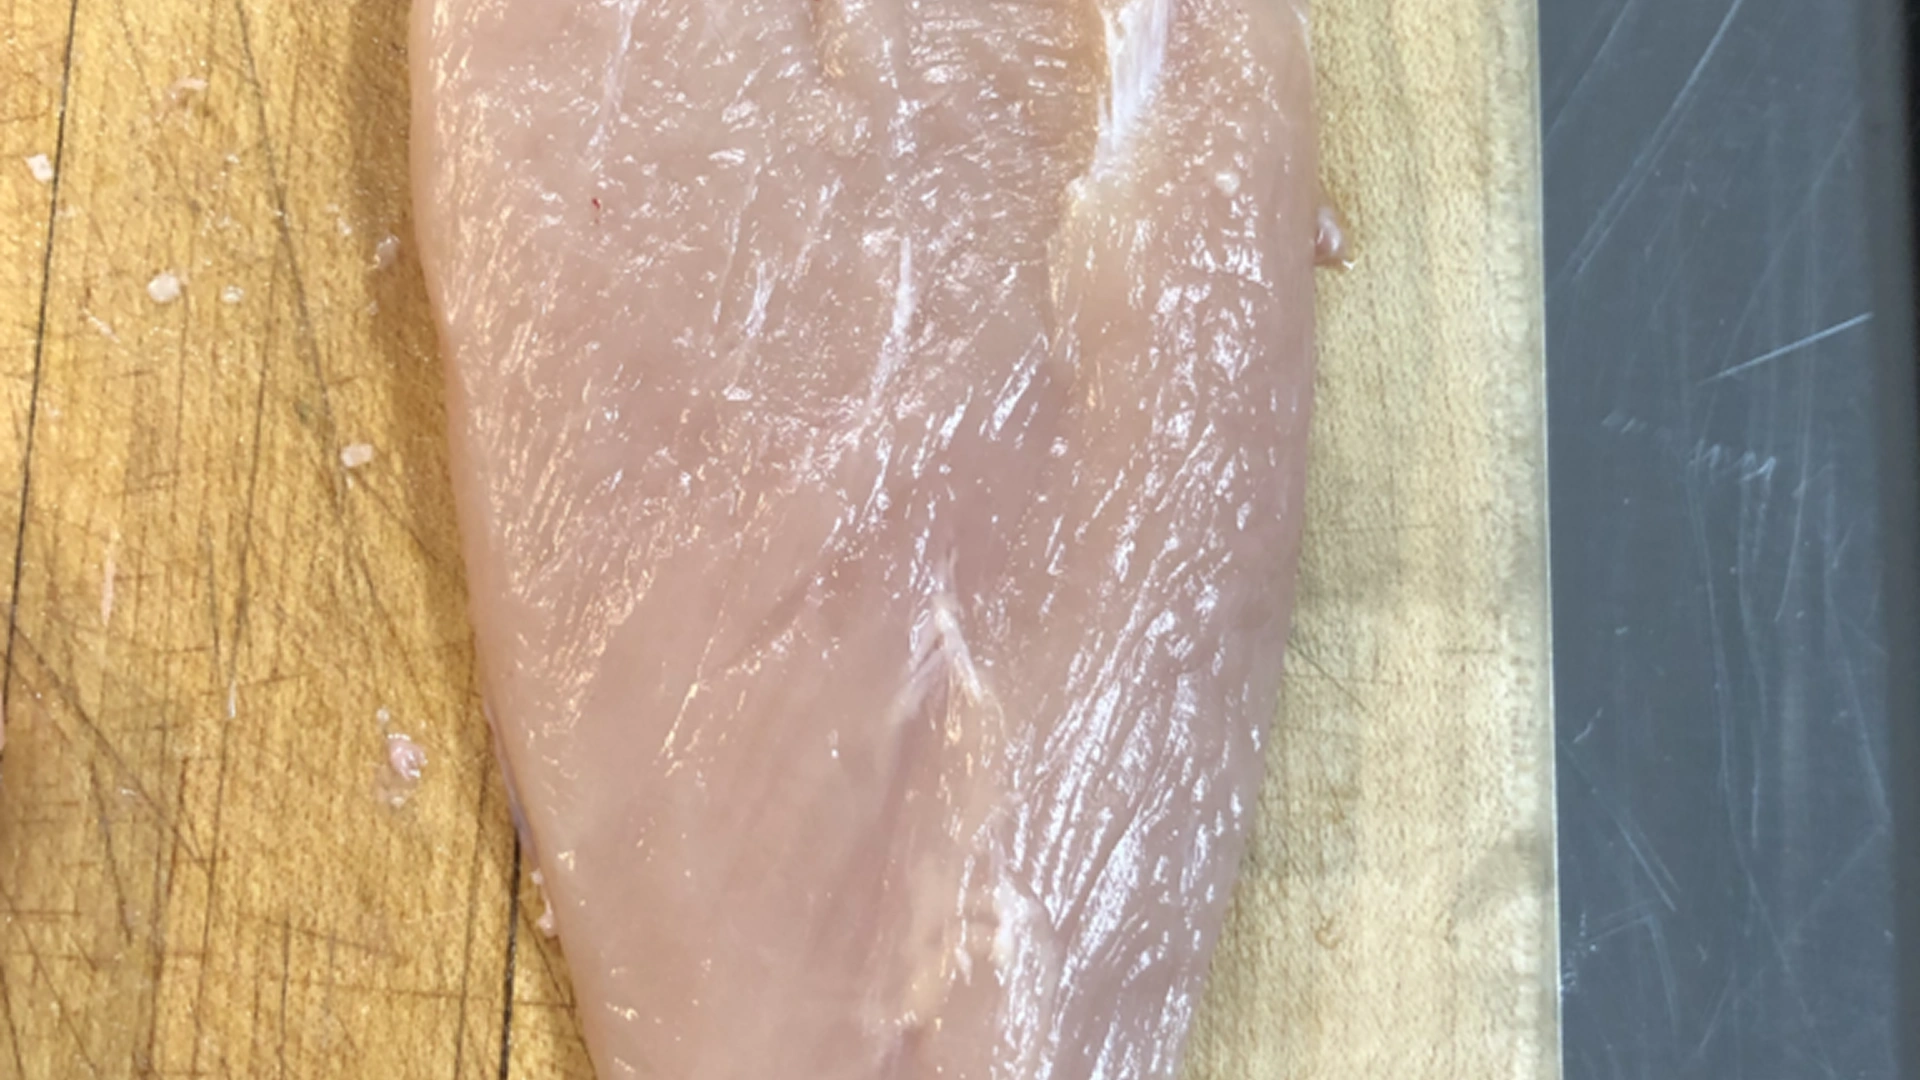
Trim any excess fat or cartilage from the breast. Trim off any thick part of the chicken so that it is no thicker than 1/2 inch, and about 3 inches wide at its widest part. At this point, begin weighing out 16 ounces of lean chicken trim for the mousse. This will come from the chicken breast, and you can use the thighs if you need to as well. The breast will line the inside of the mold, so it should be sized appropriately to produce a uniform thickness around the finished piece.
Step 7
Save the 16 ounces of lean trim to make the mousse; reserve and set aside for use. Reserve the trimmed breast and tenderloin for later use as well.
Step 8
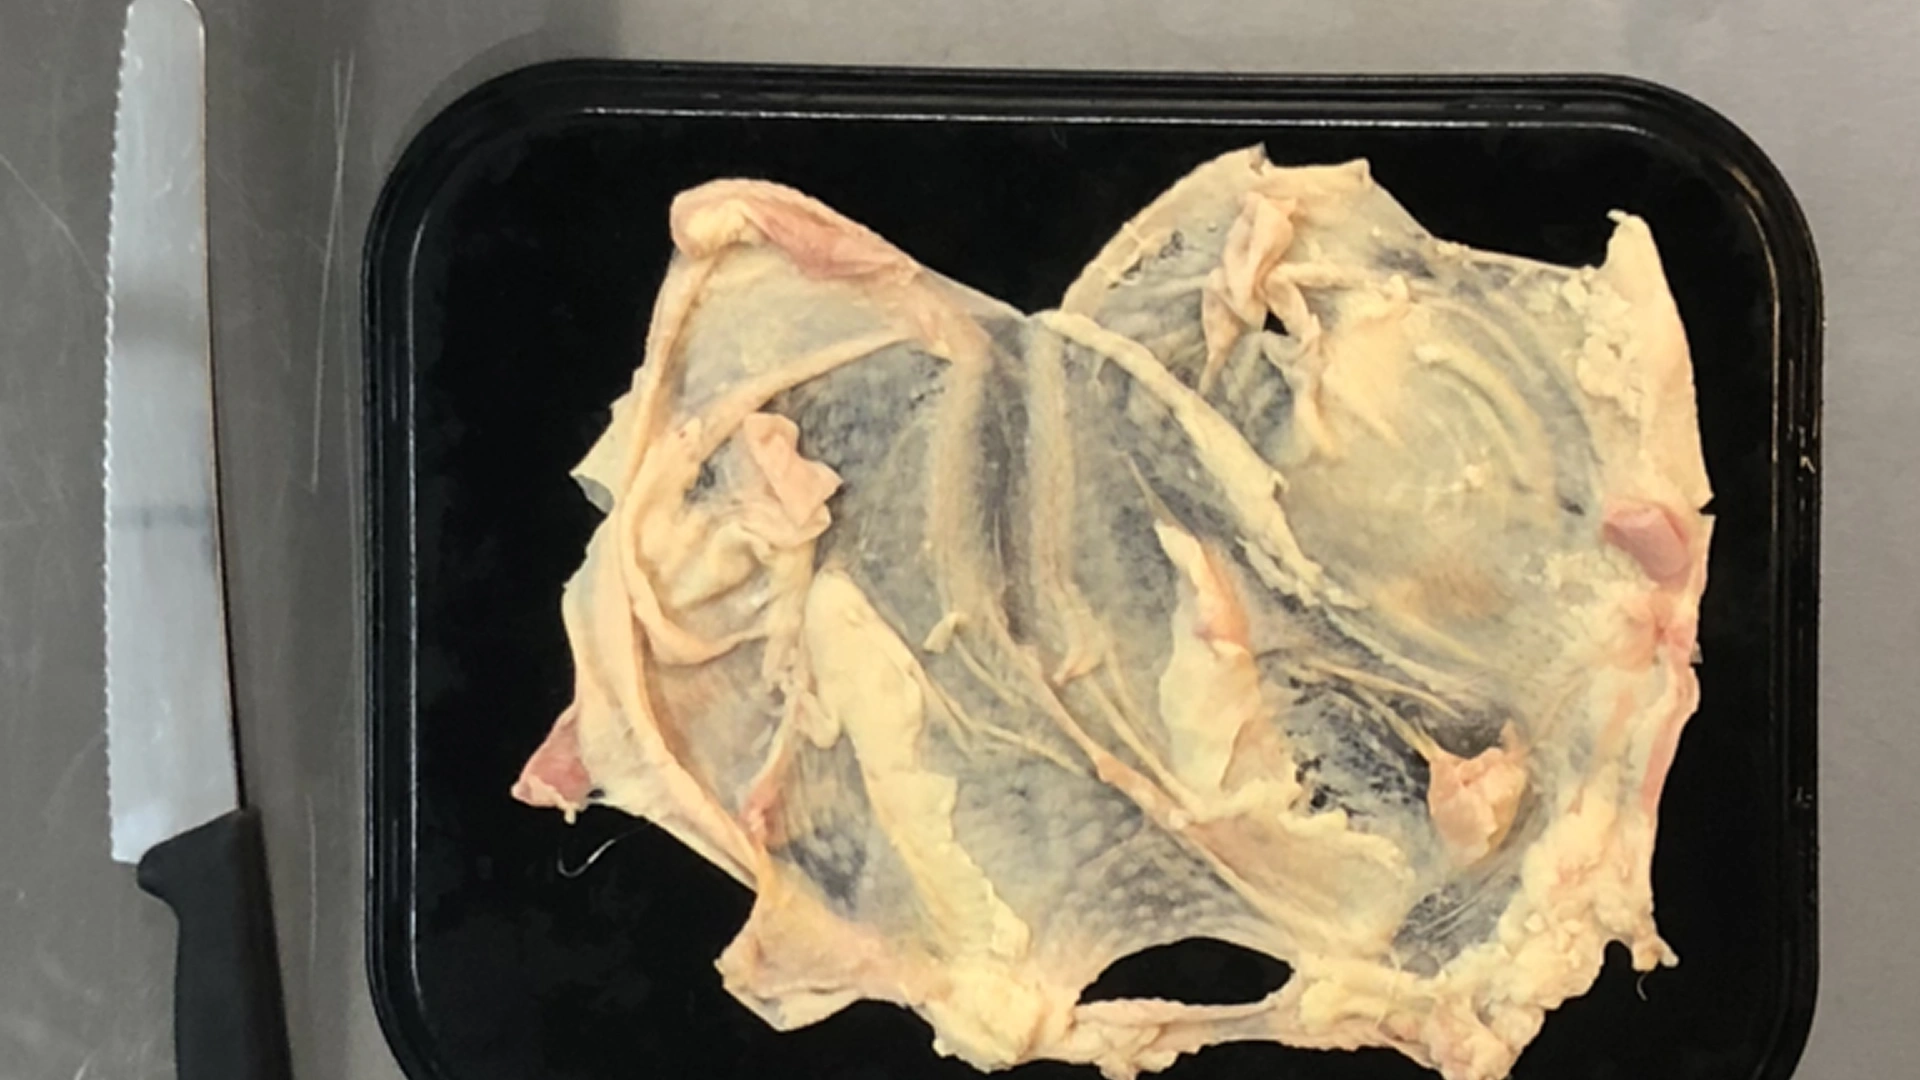
Next, lay the skin of the chicken completely flat on a plastic cafeteria tray for easy cleaning. Freeze the skin so that the excess fat deposits on the skin can be shaved off easily.

Step 9
Once the skin is frozen, use a long, serrated knife to remove as much excess fat from the skin without damaging it. The goal is to get a thin, almost transparent layer of chicken skin without large pockets of fat. Reserve the skin in a cool place until needed (40 degrees F or below).
Step 10
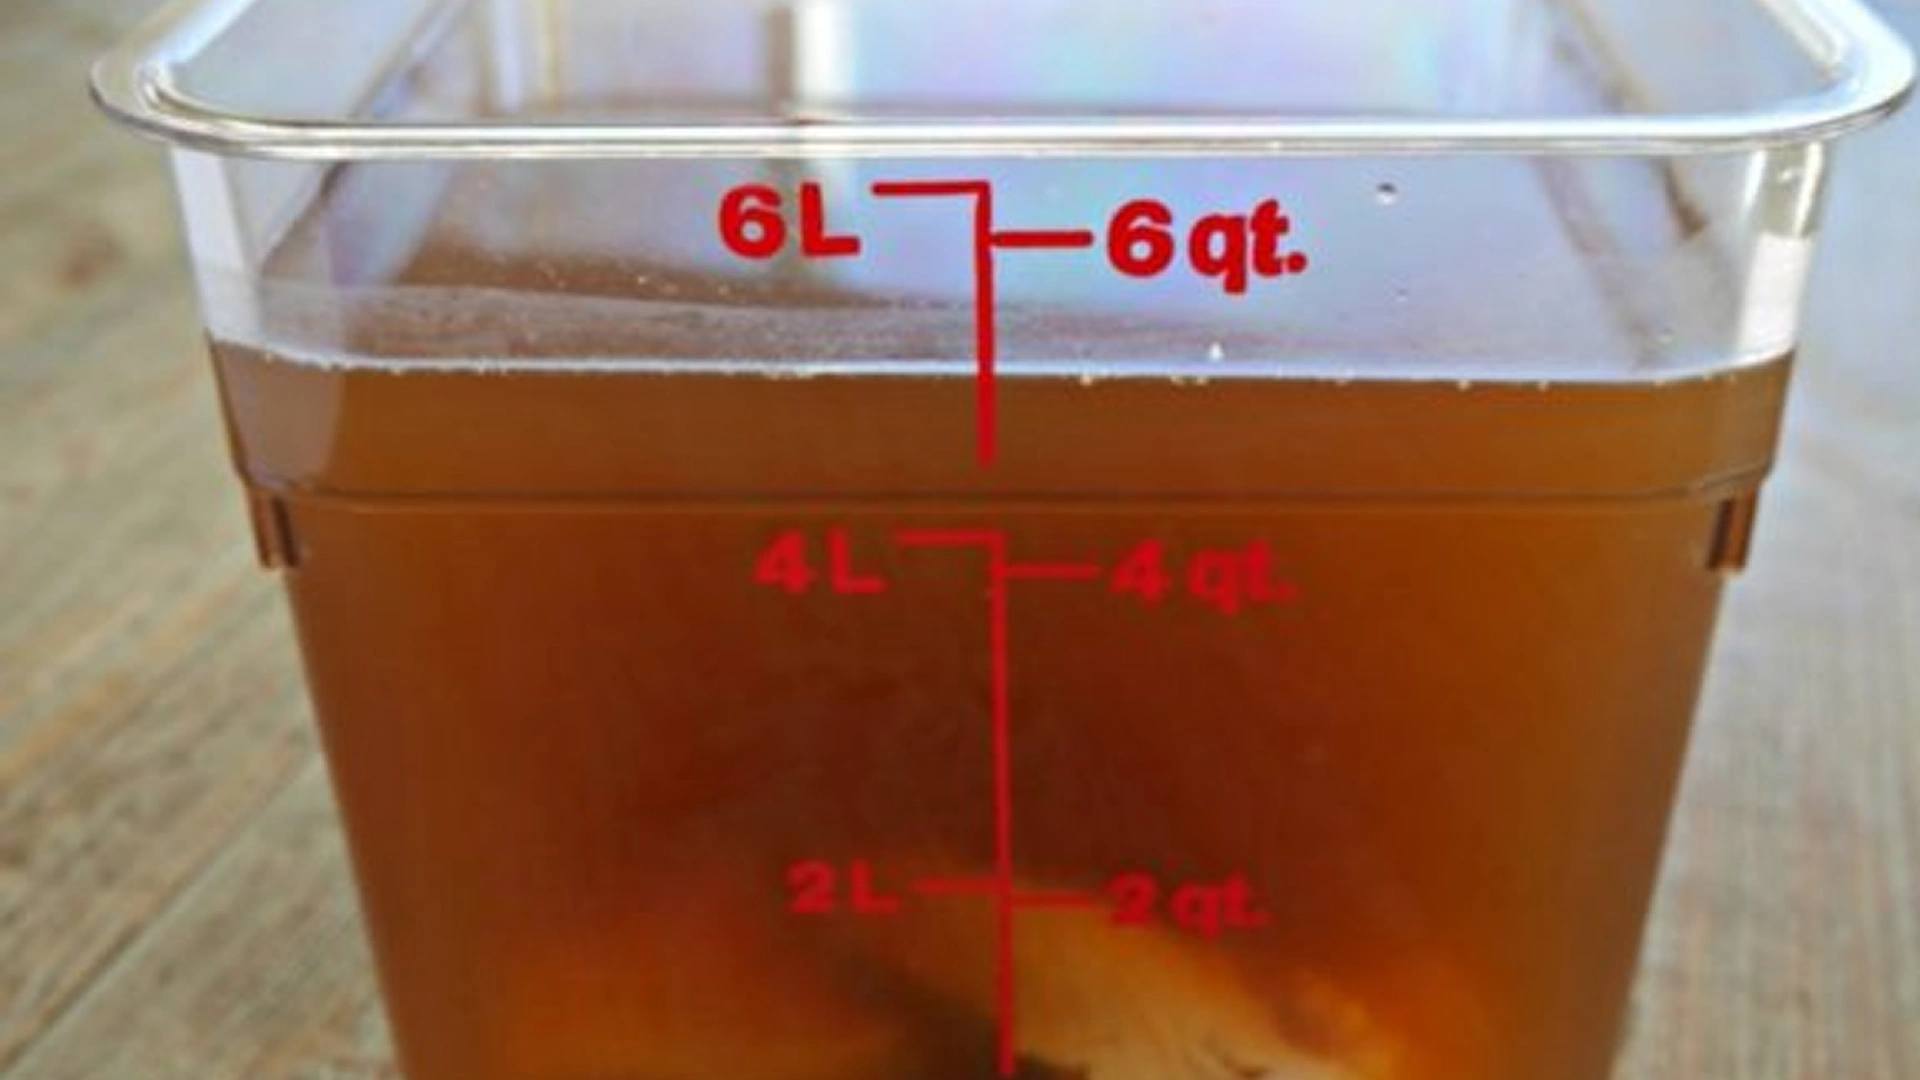
In a large pot, combine 1 quart of water with the salt, sugar, and garlic and bring to a boil. Once the sugar and salt are dissolved, add the remaining quart of water to the pot and allow to chill to 38 degrees F. Transfer the brine to a clean container, one large enough that will hold the chicken and brine without overflowing.
Step 11
Once the brine is cool, add the chicken breast to the container of brine. Allow the chicken to brine for 45 minutes. After 45 minutes, remove the chicken from the brine and pat dry using a paper towel. Set aside for later use, refrigerating when needed.